How to Make a Backing Track for a Talent Show, Recital or Wedding
Build a performance backing track in a key that suits your voice, from finding a clean source file to the sound check, with the limits of vocal removal spelled out.
6 min read
You have a slot at the school talent show, a solo at a recital, or a song you promised to sing at a friend's wedding. Nobody sells a karaoke version of the song, or the one you found sits two steps too high. This guide walks through making your own backing track from the original recording and getting it ready for a real sound system.
Start with the cleanest copy of the song you can get
The backing track can only be as clean as the file you start from. A lossless file such as WAV or FLAC keeps the cymbals, the room sound and the edges of each note intact. A low-bitrate MP3 has already thrown some of that away, and separation tends to make the damage easier to hear.
Good places to look:
- A download you bought from a store that sells lossless files.
- A CD you own, ripped to WAV or FLAC.
If all you have is a compressed file, use the highest bitrate version you can find. A 320 kbps MP3 is a reasonable floor.
You also need the file itself. DeVocal only works with audio you upload from your device. It cannot pull audio from YouTube, Spotify or any other link. Use a recording you own or have permission to process.
Separate the vocals
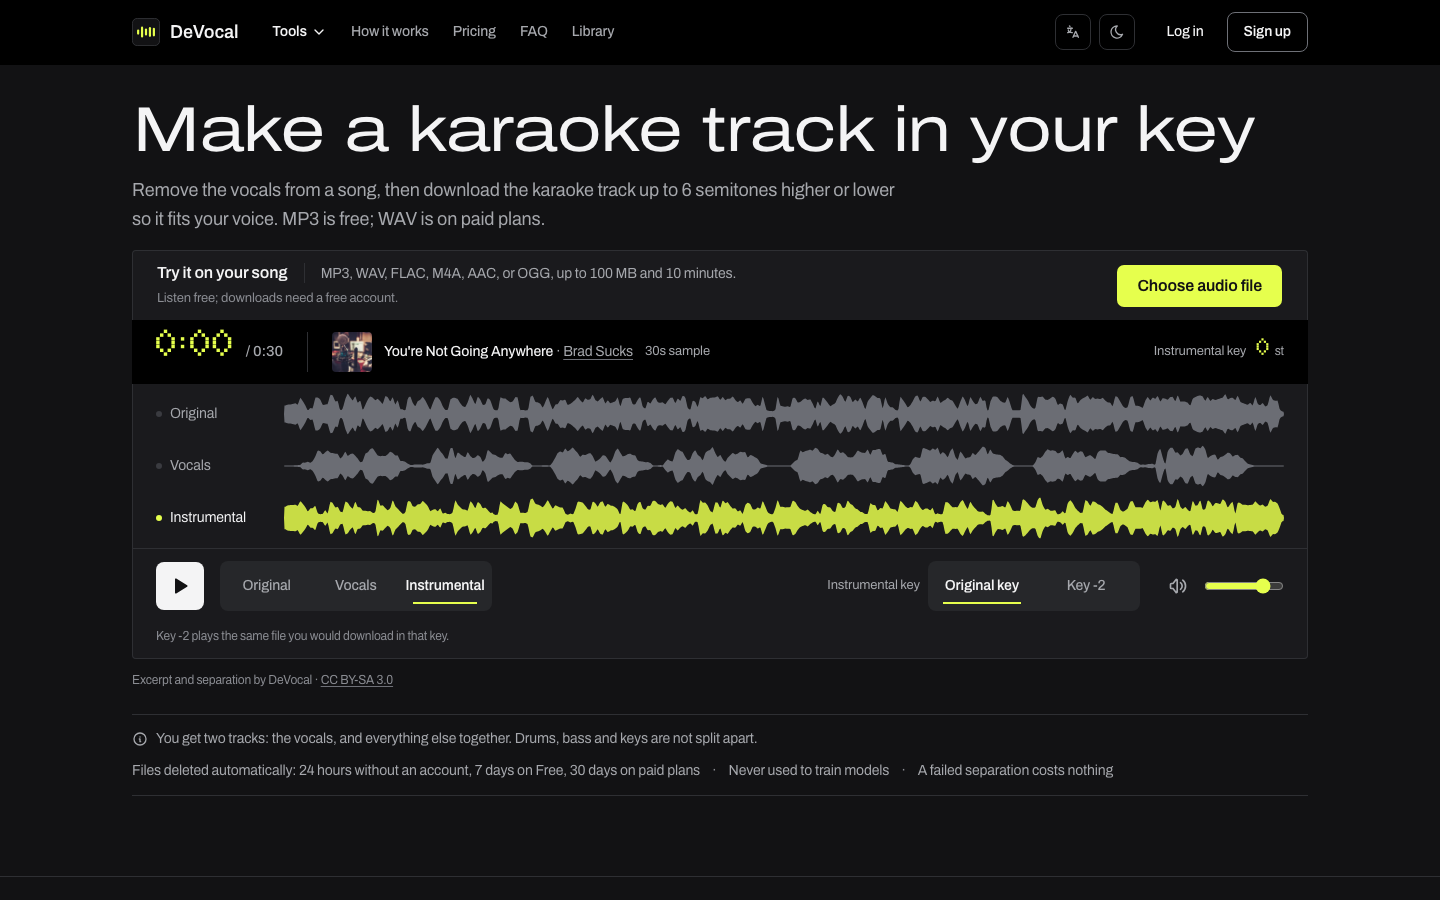
Open the karaoke maker or the remove vocals page and upload the song. DeVocal splits it into two tracks: the vocals and the instrumental. Everything that is not a voice stays together in the instrumental, so you cannot pull out the drums or turn the piano down on its own.
The free plan covers 2 separations a month for songs up to 10 minutes, and you can listen to the result before you sign up. Downloading the MP3 needs a free account. Starter ($4.99 a month, 20 separations) and Pro ($9.99 a month, 50 separations) accept songs up to 20 minutes and add WAV downloads. Uploaded files and results are deleted automatically when your plan's retention period ends, and they are never used to train models.
Check the choruses for leftover vocals
Before you get attached to the track, listen to all of it on headphones. Skip the first verse and go straight to the choruses and the final section. Those parts usually have doubled lead vocals, backing harmonies and more reverb, and that is where traces of the original singer are most likely to remain.
Things to listen for:
- A faint, ghostly copy of the lead line during the loudest chorus.
- Backing vocal "oohs" that survived because they blend with the strings or synths.
- An echo of the singer's reverb tail after a big held note.
A small trace may be hard to hear once you are singing over it, but check on proper speakers too, because some leftovers only show up at volume. If the chorus is a problem, try separating a higher-quality copy of the song. If that still does not help, pick a different song, or ask the venue whether a quiet trace is acceptable for this kind of event.
Pick a key that fits your voice
Sing through the whole song with the instrumental in its original key first. Pay attention to the highest and lowest notes, not the comfortable middle. A note that is a stretch in your living room usually gets harder on stage.
When you download the instrumental, you can shift it anywhere from -6 to +6 semitones, and changing the key does not use another separation. Note that the player on the results page plays the original key. The shift is applied to the file you download, so download the version you want and rehearse with that file.
For most singers who find a song too high, -1 to -3 semitones is a safe range to try first. Smaller shifts tend to sound more natural, and bigger jumps can make the instruments sound less like the record. If the low notes are what disappears, try +1 or +2 instead. The transposition guide has a 30-second example lowered by two semitones so you can hear what a typical shift sounds like.
Download the right format for the venue
For a performance, WAV is the format to give a sound engineer. It is uncompressed, so nothing degrades if the engineer adjusts the level or EQ at the mixing desk. WAV downloads are on Starter and Pro.
If you are on the free plan, the MP3 download still works for most school gyms, community halls and wedding receptions. Ask whoever runs the sound what they expect. Some want a file on a USB drive, some will plug in your phone, and some older players only read MP3.
Trim the track in a free audio editor
DeVocal does not cut or shorten tracks. If the song has a long instrumental intro, a fade-out you don't want, or a time limit set by the event, open the downloaded file in a free editor such as Audacity.
Common edits:
- Cut a long intro down to a few bars so you are not standing in silence.
- Add a short fade at the end if you are stopping before the original ending.
- Remove a repeated chorus to fit a time limit, cutting on a downbeat so the join is hard to hear.
- Leave a second or two of silence at the start so the engineer has time to bring up the level.
Export the edited file at the same quality you downloaded. If you started from WAV, export WAV.
Rehearse with the real file, then do a sound check
Practice with the exact file you will hand over, at the key you chose, from start to finish. Count how long the intro is before your first line. If you can, record one run-through on your phone and listen back. Pitch problems and late entries are easier to hear on a recording than while you are singing.
At the venue, ask for a sound check, even a two-minute one. Sing the loudest chorus and the quietest verse. You are listening for three things: whether you can hear the track over your own voice, whether any leftover vocal is audible through the PA, and whether the track is too loud for the room. A large room and a PA can make residue audible that you missed on headphones.
Bring a backup
Files get lost and phones die. Bring at least two copies of the final track on different devices, for example a USB drive and your phone. Name the file clearly, such as "Your Name - Song Title - minus 2.wav", so the engineer picks the right one. If the event has a running order, tell the organizer the exact length of your track.
A note on performance rights
Performing a song in public can require a public performance license. In the US, many venues, schools and event spaces hold blanket licenses from performing rights organizations such as ASCAP, BMI or SESAC, but not all of them do, and a private wedding at a rented hall may be handled differently from a ticketed show. Ask the venue or organizer before the event. Recording or posting the performance online is a separate question with its own rules. This is general guidance, not legal advice.
Related guides
- Karaoke maker: upload a song and download the backing track in your key.
- Transpose an instrumental to your key: how semitone shifts work and what larger shifts do to the sound.
- Remove vocals without losing quality: why the source file and the mix affect the result.
- Audacity vs an AI vocal remover: when the free desktop route is enough.