How to Remove Vocals Without Losing Audio Quality
A practical guide to removing vocals from any song, understanding why traditional cancellation damages backing tracks, and getting clean instrumental stems.
The Challenge of Removing Vocals Without Damaging the Music
Extracting a clean backing track from a finished song is one of the most requested tasks in modern audio editing. Whether you need a rehearsal track for vocal practice, a customized backing track for live performance, or an accompaniment for a community event, you want an instrumental that retains the punch, clarity, and stereo width of the original recording.
Historically, removing vocals required destructive phase tricks. Engineers and hobbyists relied on center-channel cancellation, often referred to as "out-of-phase stereo" (OOPS). Because lead vocals are typically panned dead center in a stereo mix, inverting one stereo channel and summing it with the other cancels out common center information.
However, this legacy technique introduces severe acoustic compromises. As explained in the Audacity Vocal Reduction and Isolation manual, center-cancellation can also remove instruments placed in the center of the stereo field—often including bass, kick, and snare information—and usually produces a mono result. Stereo vocal reverbs, side-panned delays, and backing harmonies may remain, leaving an uneven backing track.
Modern source separation replaces crude phase arithmetic with deep neural networks trained to recognize the acoustic timbres of human voices and musical instruments. Rather than subtracting channels, modern algorithms isolate harmonic structures and spectral patterns across time and frequency. Even so, understanding the physical realities of mixed audio helps you set realistic expectations and achieve the cleanest possible result.
What Dictates Quality: Source Material and Acoustic Overlap
No audio separation algorithm operates in a vacuum. The quality of your separated instrumental depends heavily on two critical factors: the quality of the uploaded source file and the density of the musical arrangement.
Source File Fidelity
The golden rule of audio processing is simple: garbage in, garbage out. If you upload a heavily compressed 128 kbps MP3 file that has already suffered lossy psychoacoustic compression, the high frequencies (such as cymbals, vocal sibilance, and room reflections) are already smeared with compression artifacts. When a separation model attempts to disentangle overlapping frequencies, those pre-existing compression artifacts become amplified.
Whenever possible, start with uncompressed or lossless formats like WAV or FLAC. If you only have access to compressed audio, use high-bitrate files (such as 320 kbps MP3 or high-quality AAC/M4A). High-resolution audio preserves clean transients and distinct harmonic overtones, giving separation models clear spectral boundaries to analyze.
Arrangement Density and Reverb
Audio separation becomes challenging when instruments compete for the exact same frequency space and spatial positioning as the singer:
- Dense, distorted arrangements: Songs with wall-of-sound electric guitars, heavy synthesizer pads, or saturated distortion share overlapping harmonic overtones with the human voice. A distorted guitar often contains energy spanning from 200 Hz all the way past 8 kHz, intersecting directly with vocal formants.
- Heavy stereo reverberation: Dry vocals centered in the mix separate cleanly. When a vocal is drenched in wide hall reverb or ping-pong delays, those ambient reflections spread across the stereo field, mimicking synthesized pads or room ambiance.
- Layered harmonies and group vocals: While a single lead vocal line has clear pitch contours, multiple singers harmonizing across wide stereo channels require more complex spectral unmixing.
Modern separation models handle these conditions better than legacy center-cancellation filters, but dense mixes may still produce artifacts such as subtle swish in cymbals or faint vocal echoes in ambient sections. Listening for these limits helps you choose the most usable result.
Step-by-Step: Removing Vocals with DeVocal
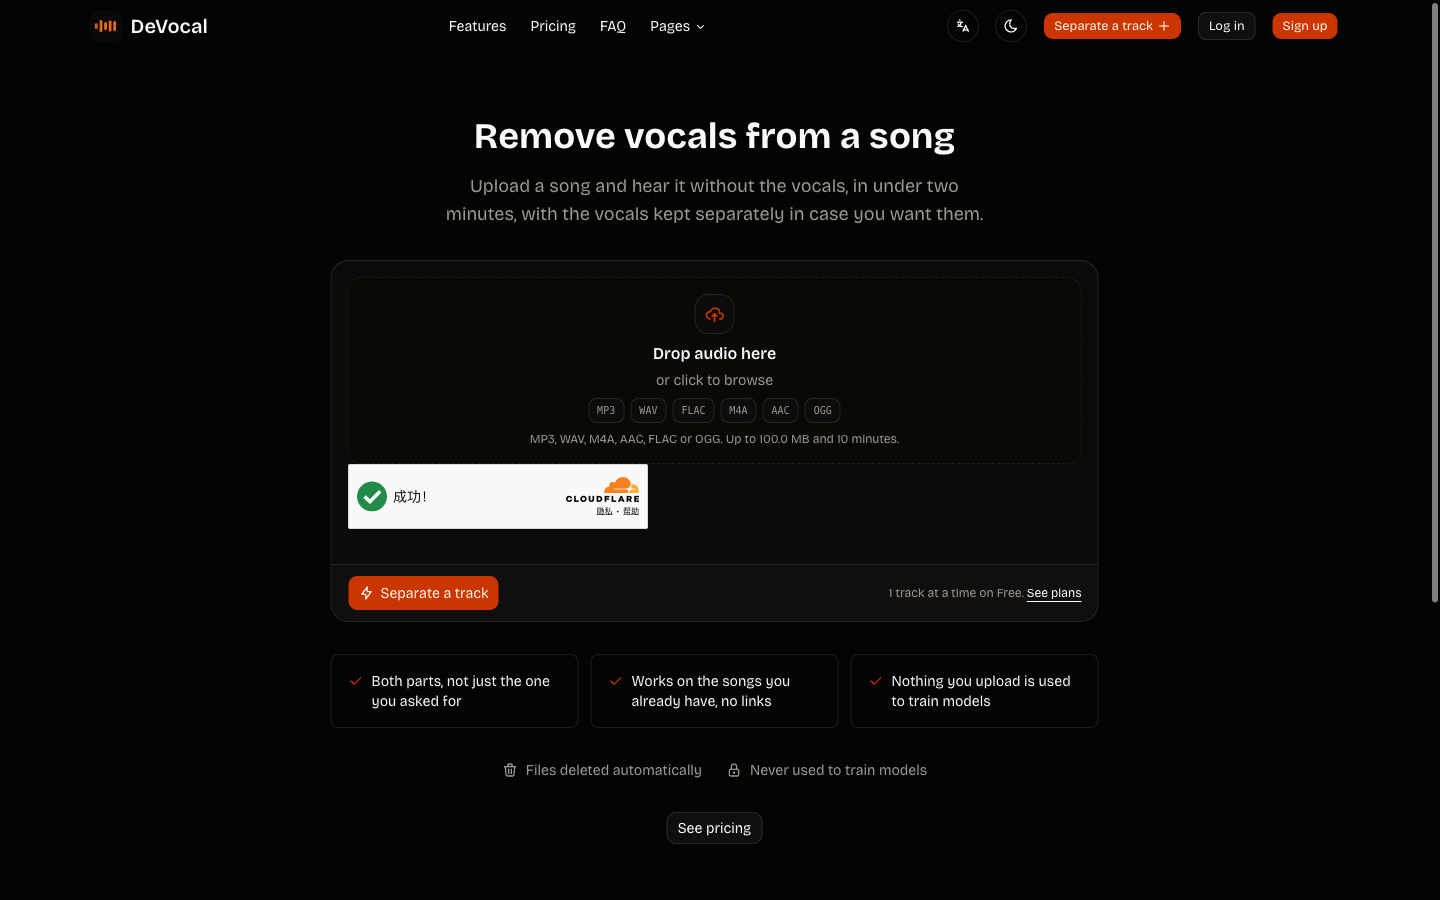
DeVocal provides a streamlined browser workflow designed to isolate instrumental backings cleanly without complex DAW configuration or manual filter tuning. Follow these steps to process your audio:
Step 1: Prepare Your Audio File
Check your audio file against supported formats and limits. DeVocal accepts MP3, WAV, M4A, AAC, FLAC, and OGG containers up to 100 MB in file size. Standard visitor tracks can run up to 10 minutes in length, while paid plans extend the duration allowance up to 20 minutes for long live recordings and extended medleys. Ensure your audio is stored locally on your device, as DeVocal processes direct file uploads rather than streaming URLs.
Step 2: Upload Your Track
Navigate to the Remove Vocals tool or open the main DeVocal Studio. Drag and drop your audio file into the upload zone or click to browse your local filesystem.
Once selected, your file uploads directly to protected storage for processing. DeVocal automatically deletes uploaded audio and generated stems, and does not use your files to train machine-learning models.
Step 3: Audition Stems in the Browser Player
The page shows processing progress and then presents two components: the Vocals stem and the Instrumental stem.
Use the built-in audition player to inspect the separation before downloading:
- Click Solo on the Instrumental track to evaluate how cleanly the lead vocals were removed.
- Listen closely to the rhythm section to confirm the kick drum and bass remain punchy and centered.
- Switch to the Vocals track to hear what was extracted and check whether any instrumental elements leaked into the vocal channel.
Step 4: Review Key and BPM Detection
Along with separated stems, DeVocal's completed job view may display an automatically detected musical key (for example, "Key C Major") and tempo (such as "120 BPM"). Treat these values as a starting point and confirm them by ear before arranging or performing.
Step 5: Download Your Instrumental Stem
Once you are satisfied with the audition:
- Free accounts can immediately download the instrumental backing as an MP3 file.
- Paid plans unlock lossless WAV downloads for workflows that need an uncompressed file.
If the song's original pitch is uncomfortable for your vocal range, you can also use the integrated Key dropdown on the instrumental row to transpose the backing track from minus 6 to plus 6 semitones before downloading.
Realistic Quality Expectations and Artifacts
Source separation reconstructs stems from a finished stereo mix, so an artifact-free result is not guaranteed. Vocals, drums, bass, and synthesizers may overlap in both frequency and stereo position.
Common physical artifacts to listen for include:
- Cymbal Swishing: High-frequency percussion like hi-hats, crashes, and rides share frequency territory with vocal sibilance ("s", "t", "ch" sounds). In the instrumental track, cymbals during vocal phrases may occasionally exhibit a faint, watery phase texture.
- Reverb Tails: Wide stereo reverbs applied to the lead vocal can sometimes linger in the background of the instrumental stem as subtle ambient warmth.
- Transient Softening: In sections where the vocal and snare drum hit simultaneously at high velocity, the snare transient may sound slightly softened in the extracted instrumental.
For karaoke, vocal practice, musical theater rehearsals, and backing tracks, these minor nuances are virtually imperceptible once a new live vocalist sings over the mix.
Troubleshooting Common Audio Separation Issues
If your separation result is not sounding optimal, verify the following troubleshooting steps:
- Upload Fails or File Rejected: Verify that your file does not exceed the 100 MB limit. If your track is longer than 10 minutes on a standard plan, trim unnecessary silence or upgrade to process files up to 20 minutes. Confirm your file extension is one of the supported formats: MP3, WAV, M4A, AAC, FLAC, or OGG.
- Excessive Vocal Bleed in the Instrumental: If vocal phrases remain clearly audible in the backing track, inspect your source file. Mono files or low-resolution compressed tracks offer fewer useful cues for separation. Re-running the separation with an uncompressed WAV or high-bitrate source may improve stem clarity.
- Muffled Backing Track: If the instrumental sounds dull, ensure you are auditioning with the volume fader turned up and without browser audio enhancements active. If you require maximum dynamic range, download the lossless WAV format available on paid tiers.
Copyright Considerations for Vocal Removal
Use audio you own or have permission to process. Rights vary by song, intended use, and location; obtain permission and any appropriate licences before publishing, distributing, sampling, or publicly performing a derivative track. This is practical guidance, not legal advice.
Frequently Asked Questions
Can I paste a YouTube, Spotify, or SoundCloud link to remove vocals?
No. DeVocal does not support URL imports or streaming links. You must upload an existing audio file (MP3, WAV, M4A, AAC, FLAC, or OGG) stored locally on your device.
Can DeVocal separate drums, bass, and piano into individual tracks?
No. DeVocal specializes in two-stem separation: it returns an isolated Vocals stem and a complete Instrumental backing stem. It does not provide multi-stem four-way or five-way separation for individual instruments.
Will transposing the instrumental change its tempo?
No. When you transpose the instrumental track using the semitone selector, the pitch changes from -6 to +6 semitones while the transposition process is designed to preserve the original tempo.
How long does DeVocal keep my uploaded audio files?
DeVocal automatically deletes uploaded tracks and generated stems, and does not use uploads to train machine-learning models.
Related Guides and Workflows
Explore other DeVocal workflows and step-by-step tutorials to get the most out of your audio stems:
- DeVocal Remove Vocals Tool: Upload your track and test vocal removal in your browser.
- Instrumental Maker: Generate clean backing tracks ready for live performance.
- Isolate Vocals for Remixing: Learn how to extract clean acapellas for production and sampling.
- Transpose Instrumental to Your Key: Shift backing tracks up or down to fit your vocal range.
- Find Song Key and BPM: Identify musical key and tempo for harmonic mixing and DAW integration.